

At Cleaning Rabbit, we know that maintaining your HVAC system is crucial for optimal performance and indoor air quality. A clean evaporator coil is at the heart of an efficient HVAC system.
In this guide, we’ll explore the best practices for HVAC evaporator cleaning, including the use of specialized tools like HVAC duct cleaning brushes for drills. We’ll cover everything from understanding the importance of regular cleaning to step-by-step instructions and professional vs. DIY approaches.
Why Clean HVAC Evaporators Matter
The Critical Role of HVAC Evaporators
HVAC evaporators play a vital role in your home’s cooling system. These components absorb heat from indoor air, allowing your air conditioner to cool your living spaces effectively. However, evaporator coils can accumulate dust, dirt, and other debris over time, which significantly impacts your HVAC system’s performance and your home’s air quality.
The Hidden Costs of Dirty Evaporators
When evaporator coils become clogged with dirt and grime, your HVAC system must work harder to maintain the desired temperature. This increased workload leads to higher energy consumption and, consequently, inflated utility bills. A dirty condenser coil can increase compressor energy consumption by 30 percent, potentially costing you hundreds of dollars annually.
Health Risks Associated with Neglected Evaporators
Beyond financial implications, dirty evaporator coils can pose serious health risks. As air passes through contaminated coils, it picks up harmful particles, allergens, and even mold spores. These contaminants then circulate throughout your home, potentially triggering allergies, respiratory issues, and other health problems. The Environmental Protection Agency (EPA) identifies poor indoor air quality as a significant health concern, with effects including irritation of the eyes, nose, and throat, headaches, and other health issues, making regular HVAC maintenance essential for your family’s well-being.
How to Spot the Signs of a Dirty Evaporator
Recognizing when your evaporator coils need cleaning can save you from costly repairs and health issues down the line. Some telltale signs include:

If you notice any of these symptoms, it’s time to consider a thorough evaporator cleaning. While some homeowners opt for DIY methods, professional services offer comprehensive cleaning solutions that ensure your HVAC system operates at peak efficiency. Specialized equipment and expertise allow professionals to access and clean areas that might challenge the average homeowner, providing a more thorough and effective cleaning process.
When airflow is obstructed, dirt can bypass the filter and accumulate on the evaporator coil, forcing your system to work harder and consume more energy. This underscores the importance of regular maintenance and cleaning of your HVAC system.
Now that we understand the importance of clean HVAC evaporators, let’s explore the step-by-step process of cleaning these vital components to maintain optimal performance and indoor air quality.
How to Clean Your HVAC Evaporator: A Step-by-Step Guide
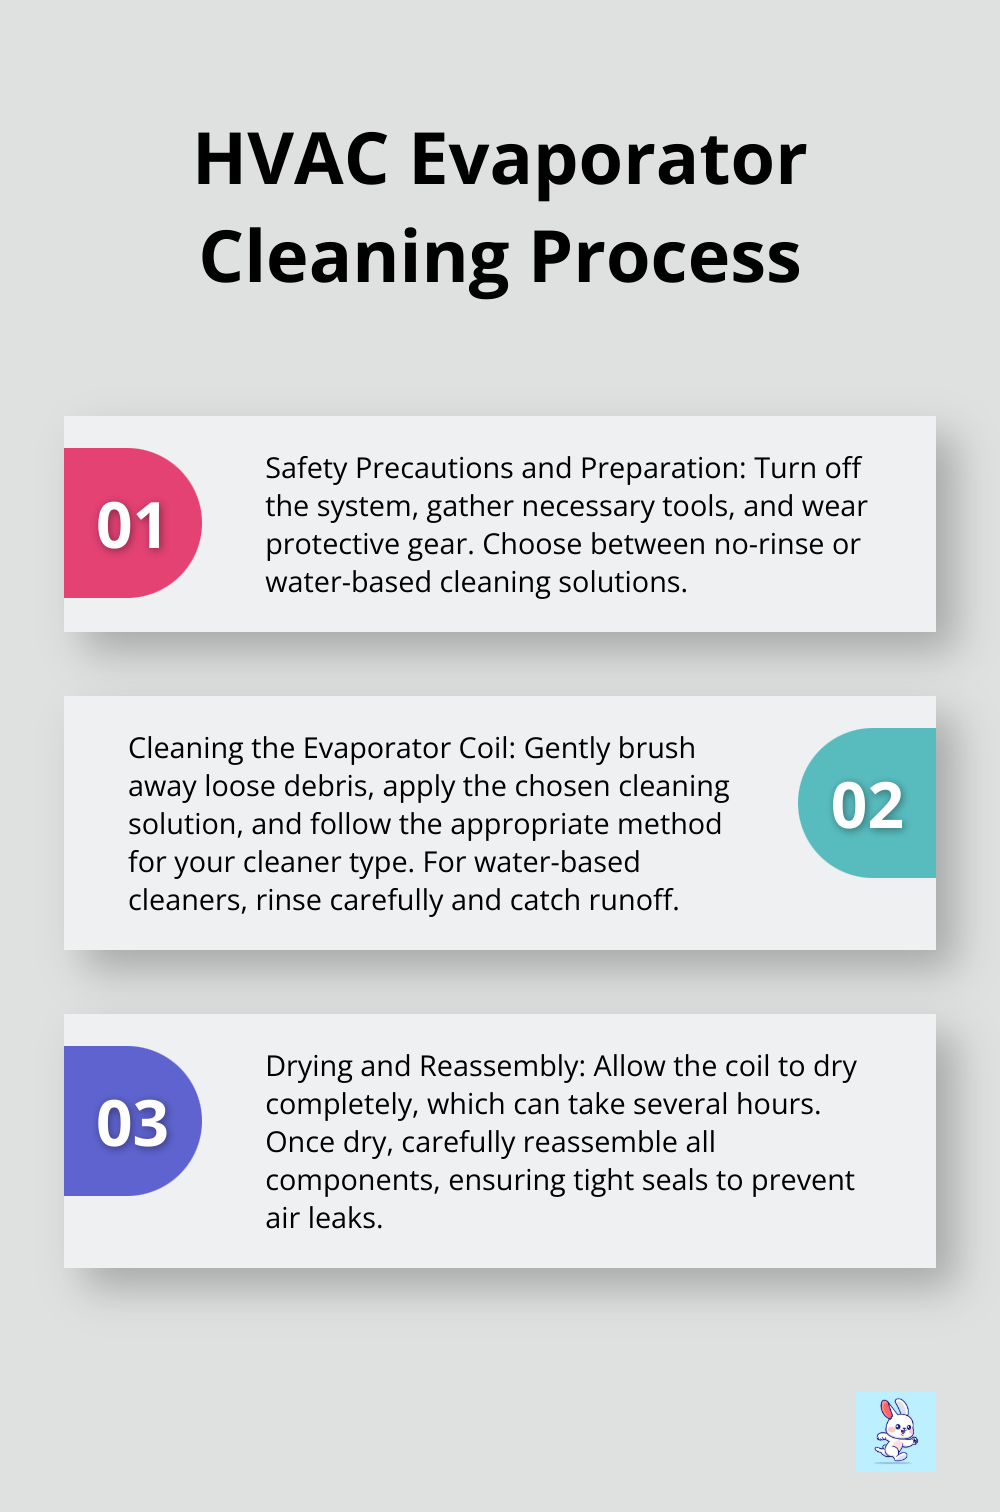
Safety Precautions and Preparation
Before you start cleaning your HVAC evaporator, turn off your system completely. This step ensures your safety during the cleaning process. Gather the necessary tools: a screwdriver, a soft brush, a spray bottle, and a mirror. Don’t forget to wear gloves and safety glasses for personal protection.
For cleaning solutions, you have two main options:
- No-rinse cleaners (convenient but may not be as thorough for heavily soiled coils)
- Water-based cleaners (more effective but require more time and care to avoid water damage)
Locating and Assessing the Evaporator Coil
The evaporator coil is typically found in the air handler or furnace, often behind an access panel. Remove the panel and use your mirror and flashlight to inspect the coil’s condition. A thick layer of dust or signs of mold indicate it’s time for a thorough clean.
The Cleaning Process
Start by gently brushing away loose debris, taking care not to bend the delicate fins. The cleaning method depends on your chosen solution:
- For no-rinse cleaners: Spray the solution directly onto the coil and allow it to work. The dirt will drip off with the cleaner.
- For water-based cleaners: Apply the cleaner and let it sit for about 10 minutes. Then, use a spray bottle filled with clean water to carefully rinse the coil. Make sure to catch the runoff to prevent water damage.
Drying and Reassembly
After cleaning, allow the coil to dry completely (this can take several hours). Running the system with a wet coil can lead to mold growth or water damage. Once dry, carefully reassemble everything, ensuring all seals are tight to prevent air leaks.
While this guide provides a solid foundation for DIY cleaning, professional services offer more thorough cleaning with specialized equipment. Regular maintenance can reduce energy costs by ensuring that the HVAC system operates at peak efficiency.
The Environmental Protection Agency (EPA) provides education about indoor environmental issues, including health risks and ways to reduce human exposures. This information underscores why many homeowners choose to entrust this task to professionals. In the next section, we’ll explore the pros and cons of professional versus DIY evaporator cleaning to help you make an informed decision for your home.
Professional or DIY: Choosing the Right Evaporator Cleaning Method
The Benefits of Professional Cleaning
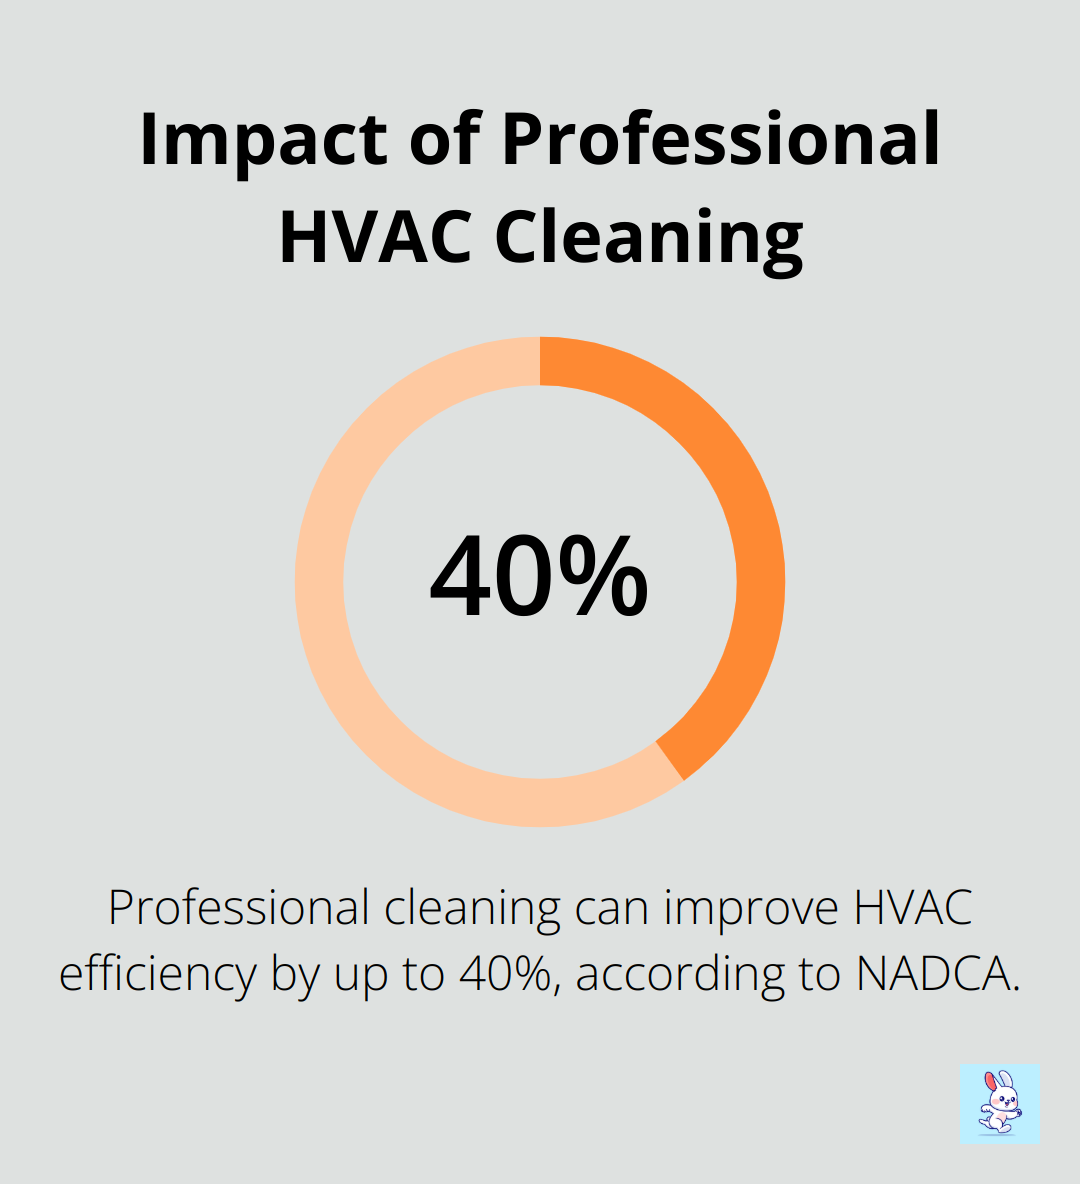
Professional HVAC cleaning services offer several advantages that can make them worth the investment. Technicians use specialized tools and have extensive training that allows them to clean evaporator coils thoroughly and safely. The National Air Duct Cleaners Association (NADCA) reports that professional cleaning can improve HVAC efficiency by up to 40%, which potentially leads to significant energy savings.
Professionals can also spot and address other issues during the cleaning process. The Environmental Protection Agency (EPA) conducts research to examine the health impacts of air pollution on vulnerable populations, including those with lung and heart disease. Professional cleaners help identify and eliminate sources of indoor air pollution, which contributes to a healthier home environment.
When to Consider DIY Cleaning
For those with some technical know-how and simpler HVAC systems, DIY cleaning can be a cost-effective option. It’s particularly suitable for routine maintenance between professional cleanings. However, it’s important to understand your system and follow proper procedures to avoid damaging delicate components.
The U.S. Department of Energy recommends that you clean your HVAC system’s filters every month or two during periods of high use. This simple DIY task maintains efficiency and extends the time between more thorough cleanings.
Common DIY Mistakes to Avoid
If you choose the DIY route, you should be aware of common mistakes. Using excessive water pressure can damage coil fins, which reduces efficiency. The Air Conditioning Contractors of America (ACCA) warns against using household cleaners, which can corrode coils and potentially release harmful fumes.
Another frequent error is the neglect of the condensate drain. A clogged drain can lead to water damage and mold growth. The International Association of Certified Home Inspectors (InterNACHI) reports that up to 90% of AC system failures are due to dirt and poor maintenance, which underscores the importance of thorough, correct cleaning.
The Importance of Professional Expertise
While DIY cleaning can be effective for basic maintenance, complex issues often require professional attention. If you’re unsure about any aspect of the cleaning process, you should consult with a professional. Expert services ensure that your HVAC system receives the care it needs, which potentially saves you money and headaches in the long run.
Balancing Cost and Quality
The decision between professional and DIY cleaning often comes down to a balance of cost and quality. While DIY methods can save money in the short term, professional services offer comprehensive solutions that can lead to long-term savings through improved efficiency and system longevity. You should weigh the immediate costs against the potential long-term benefits when making your decision.
Final Thoughts
Regular HVAC evaporator cleaning maintains optimal system performance, reduces energy costs, and improves indoor air quality. You can extend your HVAC system’s life and create a healthier living environment through consistent maintenance. Professional services offer comprehensive solutions that lead to significant energy savings and improved system longevity, while DIY approaches (such as using an HVAC duct cleaning brush for drill) can be suitable for basic upkeep.
The goal is to maintain a clean, efficient HVAC system that provides comfortable and healthy indoor air. You should prioritize regular evaporator cleaning in your home maintenance routine, regardless of your chosen method. Professional cleaning can spot and address other issues during the process, contributing to a healthier home environment.
For expert HVAC cleaning services in Las Vegas and Henderson, consider CleaningRabbit. CleaningRabbit uses advanced HEPA-filtered equipment to ensure superior air quality in your home or business. With over two decades of experience in residential and commercial air duct cleaning, dryer vent cleaning, and HVAC sanitation, CleaningRabbit strives to provide top-notch service.